If you have access to Microsoft Management Console (MMC), you can export an SSL Certificate to a .pfx file.
1. Enter mmc in the Search bar and then select Run as administrator. (For older versions of Windows, click on the Start menu and then Run. Enter "mmc" and click OK.)
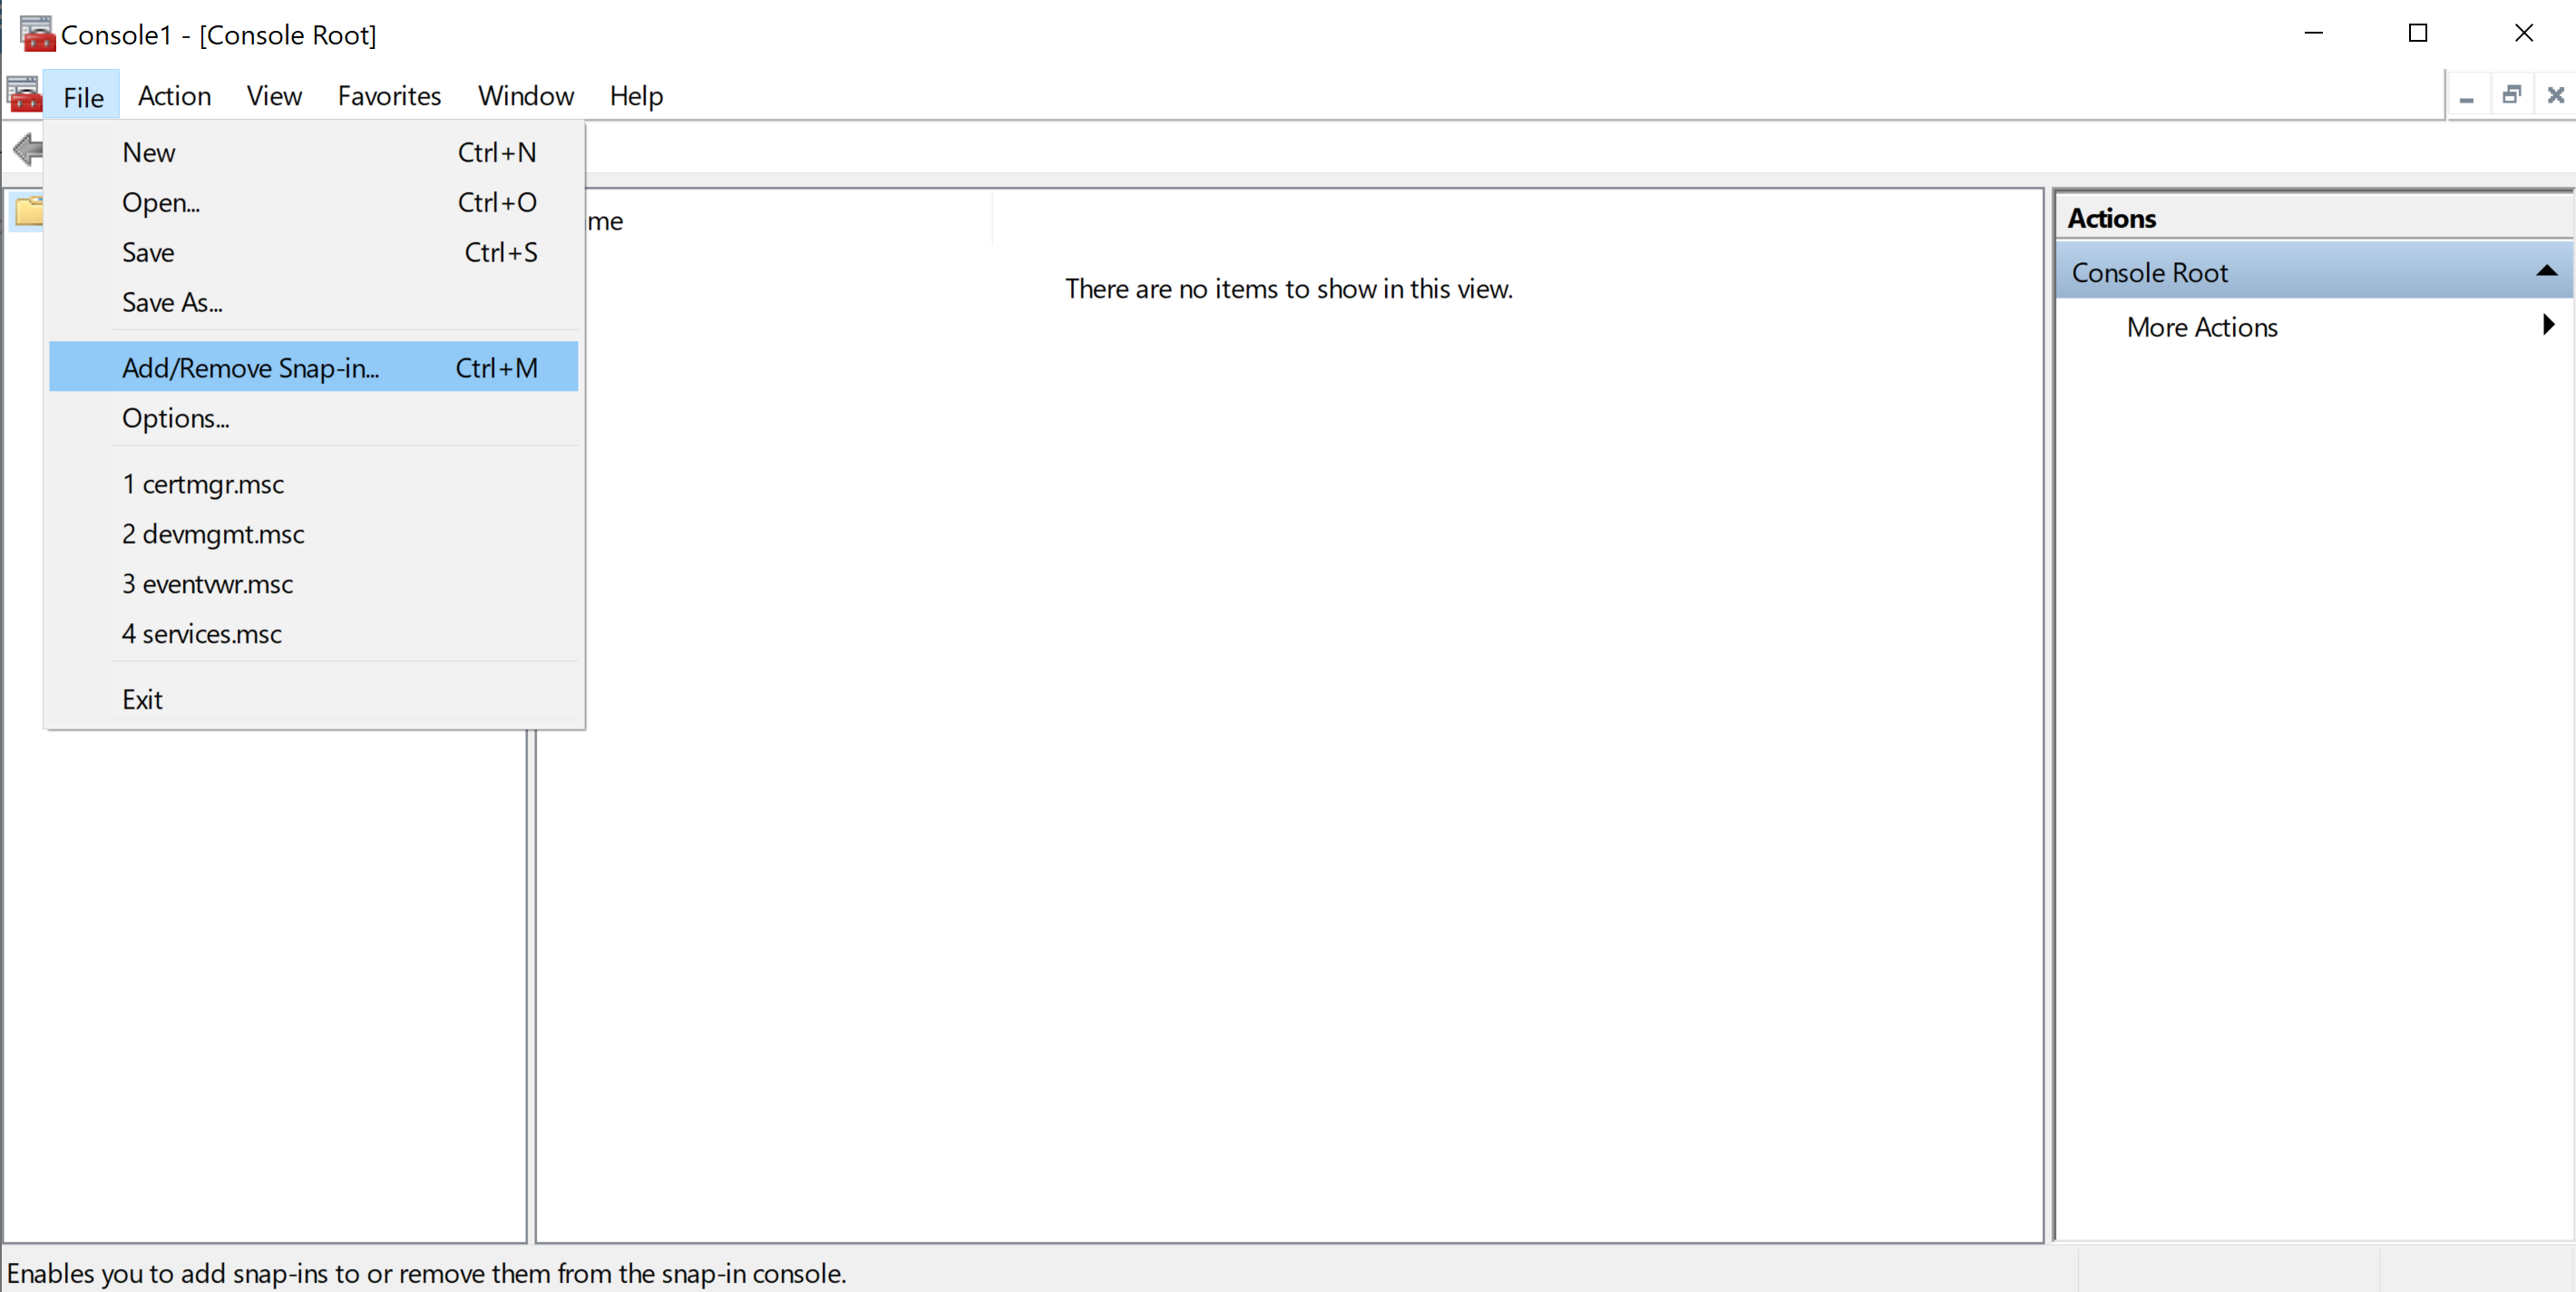
2. Click on the
File menu and then
Add/Remove Snap-in...
3. Select Certificates and then click on the Add > button.
4) Check Computer account and then click on Next >.
5. Check Local computer and then click on Finish. Click on OK to finish adding the snap-in.
6. Expand the Certificates (Local Computer) folder, then Personal, and click on Certificates.
7. In the middle pane, right click on the SSL Certificate, select All Tasks, and then Export...
8. This will launch the Certificate Export Wizard. Click on the Next button.
9. Check Yes, export the private key and then click on the Next button.
10. Check Personal Information Exchange - PKCS #12 (.PFX), Include all certificates in the certification path if possible and Enable certificate privacy. Click on the Next button.
11. Check Password and enter the password twice. Click on the Next button.
12. Enter the path and certificate name directly or use the Browse button to find the path where you want to certificate saved and then enter the filename. Click on the Next button to continue.
Additional Resources